How To Structure Firebase Push Notifications In Your React Native App

For those new to Firebase, React Native, or setting up Push Notifications for your app, this is the guide for you.
At Lazer Technologies, one of the areas we specialize in is with React Native, Node.js, and Firebase so we often end up dealing with Push Notifications quite often.
When trying to learn the best practices or a clear step-by-step way to structure Push Notifications for a React Native mobile app, I found that there weren’t that many clear articles, videos, or guides out there. Furthermore, the existing guides out there didn’t properly explain how Push Notifications work within apps from a full-stack perspective and how they are structured.
Because of this, I created this guide to showcase how to structure Push Notifications properly for your React Native app, with Firebase’s Cloud Messaging Service.
What Types Of Push Notifications Are There?
At its core, there are 4 types of scenarios in which Push Notifications get triggered for all apps.
- Immediate notifications These are notifications that get triggered after a certain action/event within the app. For example, on Instagram, whenever you send a direct message to a friend, the friend gets a push notification with your message.
- Scheduled notifications These are notifications that get triggered at a certain scheduled time by a batch/cron job. For example, the New York Times may send a push notification at the end of each day summarizing the top articles for that day.
- Scheduled notifications as a result of an action These are notifications that get scheduled to be triggered by batch/cron jobs at a certain moment after an action has been performed in the app. For example, on Ritual they may schedule a push notification to be triggered 10 minutes after you ordered a food item.
- Local notifications Local notifications are notifications that get triggered by the application locally, without the need for an internet connection. Think of it as running a CRON job locally on your device. Both iOS and Android support the ability to trigger notifications. These types of notifications can either be displayed immediately, or scheduled to be displayed at a later date. A good example is your Alarm Clock app, that sends a local notification at whatever time you set your alarm for.
For the purpose of this guide, we’re going to focus on immediate push notifications that will be triggered with Firebase. Scheduled notifications are the same as immediate push notifications, except the only difference is that they will be triggered by creating batch jobs on whichever cloud platform you’re using (e.g. AWS, Azure, etc) that call your respective backend endpoints at specific scheduled times. If that doesn’t make sense yet, it will soon!
How Firebase Cloud Messaging (FCM) Works
Before showing you how it’s done, I think it’s important to understand how Firebase Cloud Messaging works, since that is the service within Firebase that we will be using to make push notifications a reality.

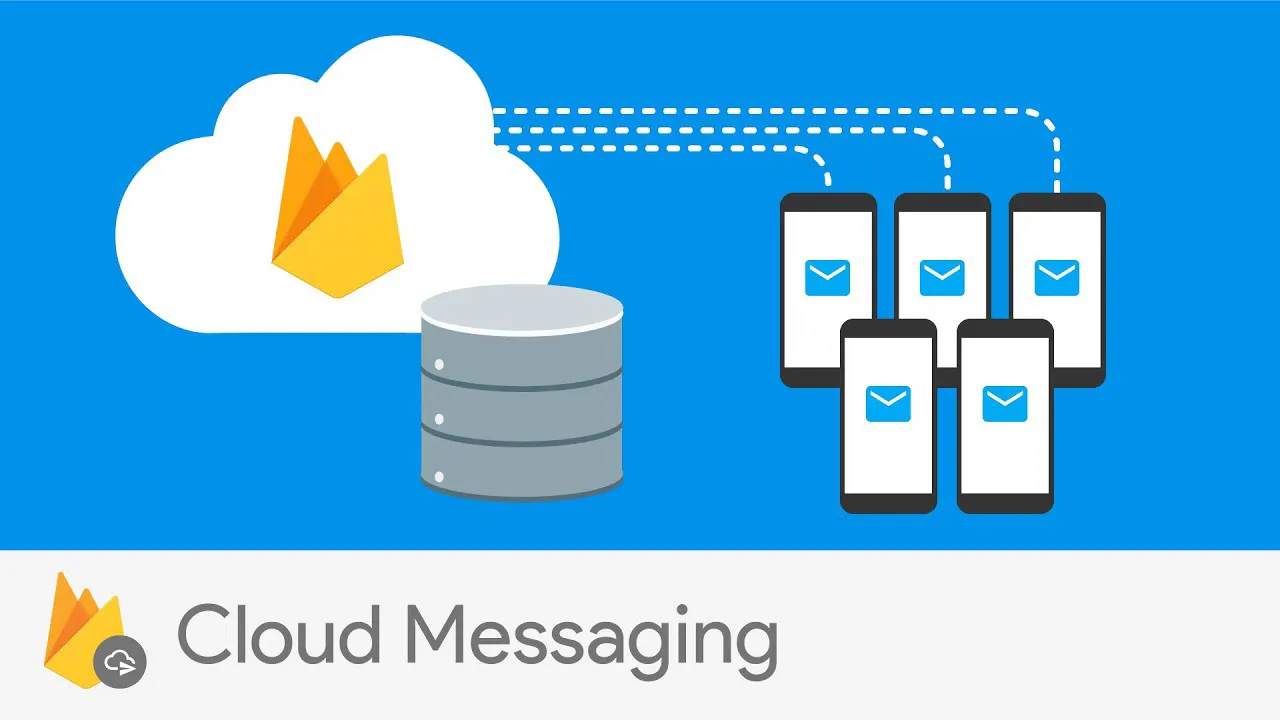
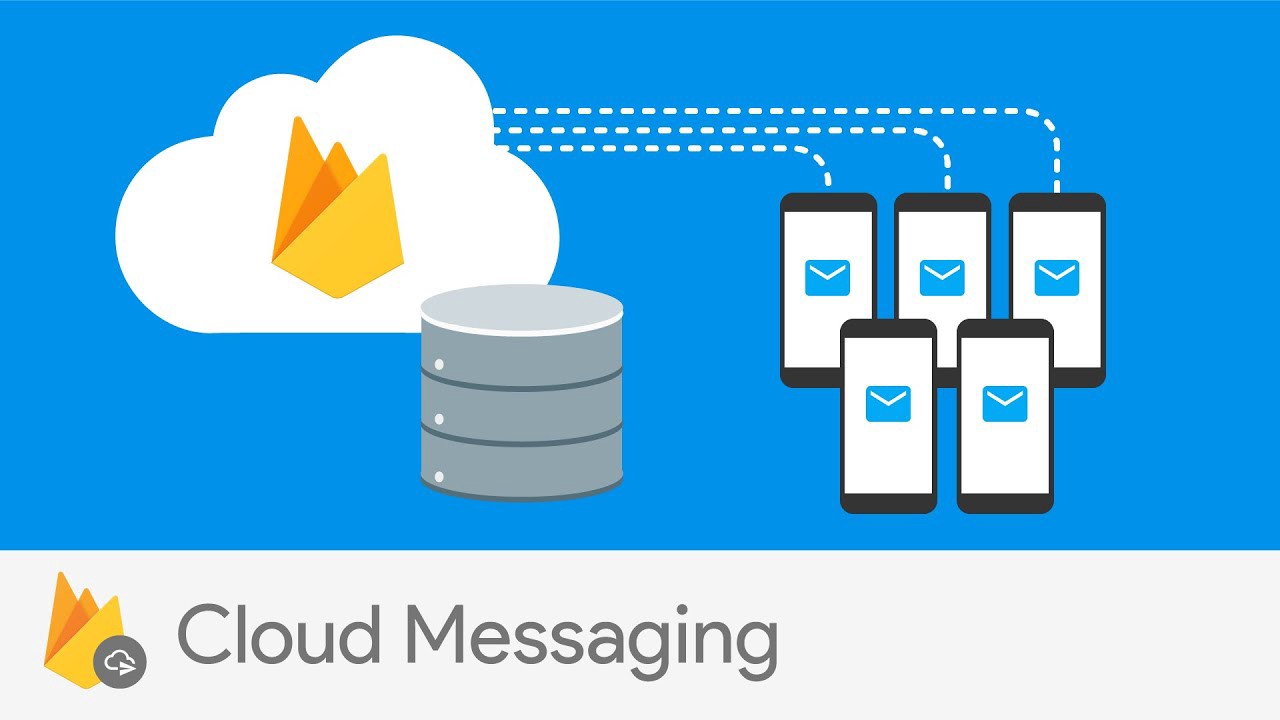
Firebase Cloud Messaging (FCM) is Firebase’s service which allows any app to reliably send push notifications to any iOS, Android, or Web app. FCM takes care of all the behind-the-scenes work, and offers an abstraction above Apple’s and Google’s individual push notification service and complexities.
- At either startup or at the desired point in the React Native app flow, we will need to prompt the user for permission to allow notifications to be sent to their device. The React Native library that we typically use for permissions is react-native-permissions.
- Once the user has authorized your React Native app permission to send notifications, in order to actually send a push notification to a device, we need to know that device’s registration token. By default, the FCM SDK generates an FCM token for the React Native app instance upon app launch. This FCM token is unique to a given device not to a particular user, and allows us to send targeted push notifications to any particular instance of that React Native app for that device. The FCM token may also change/refresh when the app is restored on a new device, the user uninstalls/reinstall the app, the user clears app data, or whenever the previous token expires or becomes invalidated by the Firebase system. The React Native library that we typically use for Firebase is react-native-firebase.
- This is why for any app we create, we will need to create a Devices table in our DB to make sure we keep track of all the unique FCM Tokens for every device that our app is registered on. More on this soon.
- Once we successfully receive the FCM token, if the FCM token is new or doesn’t yet exist in our Devices table for the associated user, we will send a POST request to our backend API to store the token in the table for that user.
- To ensure the Devices table only stores the most recent FCM tokens for a set of User’s devices, when we store a new FCM token it will by-default be set to active = true . We only set devices active key to false when the user has logged out, when the user is removed from the DB, or when we know the FCM token is invalid.
- Now whenever we want to trigger a push notification to a specific user, we can fetch all of the FCM tokens from our Devices table for that respective User ID, and send an POST request to the Firebase Cloud Messaging service (like below) or through the Firebase SDK for react native. More on this when we understand the push notification trigger path in our app.
// Headers
Authorization: <Firebase Server Key>
Content-Type: application/json// Body
{
 "to": `${FCM_TOKEN}`,
 "data": {
   "message": "",
   "title": "",
   "data-type": "direct_message"
 }
}
Structuring Your Data Models (DB)
Next, it’s very important to understand what data models are needed in your Database in order to have efficient push notifications in your app.
Users table
This table describes your User. The schema is however you define your normal User schema, plus the following:
- Includes a One → Many relationship with Notifications and Devices, as a User can have many devices and notifications
This User’s table is important because it’s where you’ll get all the information for a user (e.g. name, preferences, etc).
Notifications table
This table stores all the Notifications dispatched to every user. It’s a Many → One relationship with User, in the sense that User’s can have many notifications. It’s constructed with the following schema:
- notificationId (UUID)
- user (Users UUID)
- title (string)
- message (string)
- readAt (Date/timestamp)
- sentAt (Date/timestamp)
- createdAt (Date/timestamp)
This table is needed so you can store all the notifications that have ever been dispatched. This is useful if you ever have a Notifications screen in your React Native app, showcasing all unread and read notifications for the user.
Devices table
This table stores all the FCM tokens for each user. An FCM token is unique to a User’s device, not the User themselves, so User’s can have multiple FCM Tokens. It’s a Many → One relationship with User, in the sense that User’s can have many devices. It’s constructed with the following schema:
- deviceId (UUID)
- user (Users UUID)
- fcmToken (string)
- active (boolean)
- createdAt (Date/timestamp)
This table is important because it allows our application to fetch the correct device ID’s for a give user ID so that we can accurately tell Firebase which device to send a notification to.
Understanding The Push Notification Trigger Path
Next, it’s important to understand the flow the path a push notification takes in an app.
Sending a push notification
- Client side (e.g. the React Native frontend) sends a POST request to an API Endpoint in our backend. For example, imagine we want to send a notification to Johnny that Laura has DM’d him on Twitter.
- Our backend API endpoint receives the request from the respective source (i.e. the React Native frontend), interacts with the necessary backend services to construct and pass the correct information to our sendNotification service function to dispatch the respective notification. For example, our endpoint may want receive Johnny’s userId which will act as the receiverId, Laura’s userId which will act as the senderId, and the message that Laura wrote to Johnny and pass this to our sendNotification service function.
- Our sendNotification function receives the respective params (e.g. senderId, receiverId, and message), finds the correct FCM Device Token for the receiverId from the Devices table, and constructs the correct push notification title, message and uses the Firebase module to dispatch the notification to the respective FCM Device Token. The reason we only search for the FCM Device Token for the receiverId is because we want to send the notification to the receiver only.
- Immediately after dispatching the notification in the sendNotification function, we store the push notification in our Notifications table in the DB to keep track of all notifications we dispatch and so we can fetch them for users in the future.
More On Device Handling
- Upon load of the application (e.g. onLoad of Home Screen), we fetch the user’s FCM Token and store it in our Devices table if the userID and fcmToken doesn't already exist in it. If it does exist in it, and is marked inactive, then we flip inactive to true. If it does exist in it and is marked active, we don't add it to the table.
- We mark a device as inactive whenever a user logs out, an account is deleted, or a user sets notification preferences to silent.
Showcasing Received Notifications For A User In A Notifications Page On Our App
- On load of this screen, we fetch all recent notifications and showcase them as unread
- After leaving this screen, we update their state in Notifications table from read → unread via POST request to respective endpoint
That’s it!
And with all that, we built the foundation of our push notification service for our React Native app.
If you have any questions throughout, feel free to send me a message through Twitter: www.twitter.com/ZainManji or reach out to us at founders@lazertechnologies.com 👋


